Guide on Industrial Painting for Chemical-Resistant Environments
May 19, 2025
How Electrostatic Discharge Flooring Can Protect Your Equipment
June 3, 2025
Installing new industrial flooring serves several purposes, from improved aesthetics and safety to minimized downtime and long-term operational efficiency. Whether upgrading to a high-performance epoxy coating, replacing deteriorated concrete, or retrofitting an older space, preparation is necessary to reduce the risk of installation errors, delays, and unexpected costs.
Effective planning covers logistics, material selection, concrete surface preparation, and post-installation protocols. Follow this facility flooring installation checklist to preserve productivity and ensure your floors hold up to the rigors of daily use.
1. Conduct a Comprehensive Site Assessment
The first step is to evaluate your existing flooring. Walk every section of the facility with your maintenance team or contractor, noting damage such as spalling, cracking, oil-saturated areas, or delaminated coatings. Don’t overlook signs of moisture intrusion, which may compromise adhesion and lead to future system failures.
Conducting moisture vapor emission rate (MVER) testing or using relative humidity probes provides accurate data on subsurface conditions. Use these results to determine whether a moisture mitigation strategy is necessary. In some cases, substrates must be resurfaced or treated to meet installation requirements. A well-documented site inspection ensures no surprises once the project begins.
2. Schedule Strategically to Minimize Disruption
Flooring projects don’t have to halt operations, but they do require clear communication and scheduling. Coordinate with department heads, shift supervisors, and outside vendors to plan around production downtime, holiday closures, or routine maintenance windows. Larger facilities may find it beneficial to stage installations across multiple zones, thus reducing the impact on daily operations.
Include time for every phase, including surface preparation, installation, and curing. Depending on the flooring system and facility conditions, some installations may require extended cure times before traffic resumes. Build buffer time into the schedule to accommodate unexpected delays, and communicate the finalized timeline across departments so everyone can set reasonable expectations.
3. Prepare the Area and Secure the Perimeter
Clear the space of all equipment, pallets, inventory, and obstructions well in advance of the contractor’s arrival. Completing this step early saves time and prevents accidental contamination of the industrial floor prep area. Then, identify any overhead obstructions like pipes or conveyors that could limit access or create hazards for the installers.
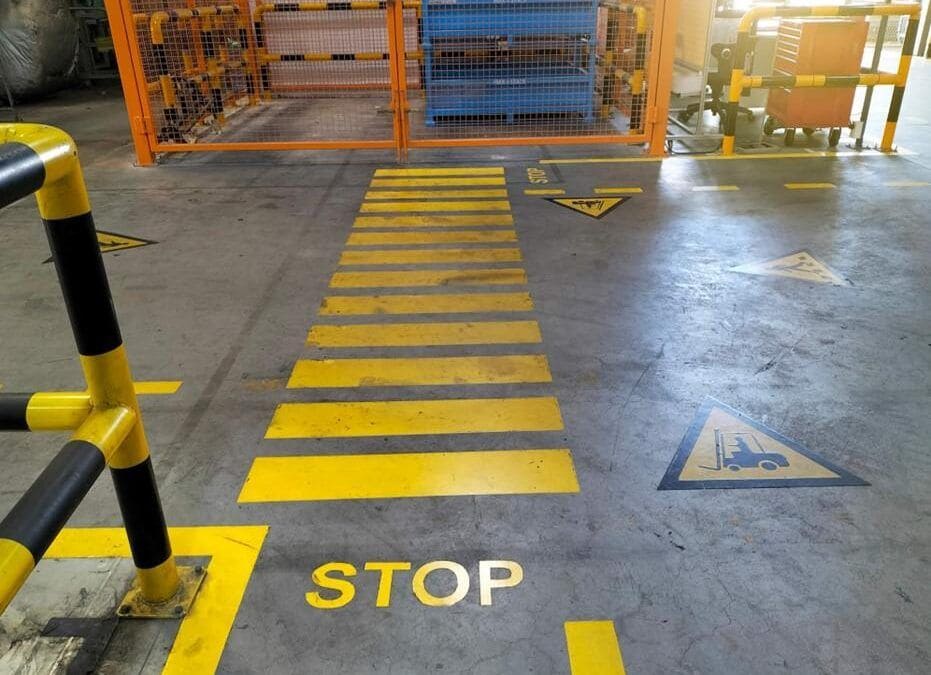
Flooring systems often require controlled humidity and temperature during curing. Foot traffic is also highly discouraged to avoid damaging or displacing the coating materials. Mark the perimeter of the installation zone with temporary signage, plastic sheeting, and barrier tape to control environmental conditions and prevent accidental interference.
4. Execute Thorough Concrete Surface Preparation
Nothing impacts long-term floor performance more than proper surface preparation. Even the most advanced coating systems may fail if applied over poorly prepared concrete. The surface must be clean, structurally sound, and properly profiled to ensure mechanical adhesion.
Surface prep starts with removing contaminants. Oils, greases, and residues from previous coatings can interfere with bond strength. Cleaning may involve chemical degreasers, solvent scrubbing, or abrasive blasting. Once clean, the floor is mechanically prepared using shot blasting, diamond grinding, or scarifying. This step roughens the concrete surface to a specified profile, which varies depending on the type of flooring being installed.
After mechanical prep, dust and debris are removed using high-efficiency vacuums equipped with HEPA filters. The result should be a dry, clean, and uniformly textured surface ready for primer and coating application.
5. Repair Substrate Imperfections and Treat Joints
Surface imperfections may compromise the finish and performance of your new floor. Address any cracks, holes, or damaged joints before installation begins. Use patching compounds, epoxy mortars, or polyurea-based materials designed to work with your chosen flooring system.
Depending on system requirements, you may need to clean, refill, or recut control and expansion joints. Leaving joints untreated can lead to cracks in the coating or structural damage beneath, so address these issues now to prevent headaches later.
6. Apply Primers and Base Coats with Precision
Once repairs are complete, the priming phase begins. Primers penetrate the concrete, sealing pores and promoting adhesion between the substrate and the coating system. Uneven primer coverage may lead to adhesion issues or blistering under topcoats, so the application demands care and precision.
Once the primer cures, the next step is to apply the base coat and any additional layers, such as decorative flake, quartz, or chemical-resistant topcoats. Each layer must cure completely before the next is added. Installers continually monitor film thickness, cure times, and environmental conditions to ensure optimal results.
7. Plan for Post-Installation Care
Installation doesn’t end when the final coat dries. Long-term performance depends on proper ongoing care. Create a plan that outlines cleaning schedules, approved chemical use, inspection intervals, and maintenance protocols. Train your team on how to handle accidental spills, what to avoid during daily operations, and how to spot signs of coating wear.
Some flooring systems require periodic re-coating or touch-ups, especially in high-traffic or abrasive environments. Build these tasks into your routine maintenance program to protect your investment and prevent surprise shutdowns.
8. Avoid Common Pitfalls
Facility managers must often balance productivity with infrastructure upgrades. Floor installations come with their fair share of concerns, but most issues can be avoided through proper communication and preparation. Here’s where projects tend to go off track:
- Misjudged cure times: Resuming operations too early may weaken the floor’s performance and void warranties.
- Neglected environmental conditions: Fluctuations in temperature and humidity during application and curing often lead to coating failure.
- Poor stakeholder communication: Neglecting to update internal teams or vendors may cause access issues and delays during the floor installation.
- Overlooked edge and transition areas: Ignoring thresholds, drains, or wall joints can result in premature damage or water intrusion.
Why More Facilities Choose MSC Floors
MSC Floors partners with manufacturers, warehouses, and commercial facilities across Michigan, Ohio, and Northern Indiana to deliver long-lasting flooring systems. Our team creates an organized, clean installation experience backed by a strong support staff who stay engaged at every step. We invest in training and development to ensure our crews are equipped with the latest installation techniques and safety protocols.
Contact us today to explore our commercial and industrial flooring systems. You’ll quickly discover why so many manufacturers and facility managers trust us as their customer-focused contractor from beginning to end.